How to Clean Your Diamond Stud Earrings at Home: The Complete Step-by-Step Guide

Your diamond studs may still look sparkly — but underneath, they've quietly collected a film of grease, makeup, lotion, sweat, and grime. The good news? Bringing back that day-one brilliance takes about 30 minutes, costs nothing, and uses items already in your kitchen. This guide walks you through the safe, jeweller-approved cleaning method, the mistakes to avoid, and how to keep your studs sparkling between cleans.
Why Diamond Studs Lose Their Sparkle
It might surprise you to learn that the dulling of a diamond is rarely caused by the diamond itself or by the passage of time. The real culprits are everyday cosmetics and skin oils. Hairspray, perfume, hand cream, foundation, and even sweat slowly build up into a thin film of grease across the diamond's surface and inside the setting. That film attracts dust and debris, which blocks light from entering the diamond — and a diamond that can't catch light can't sparkle.
Earrings face an even worse barrage than rings. They sit right where you spray hairspray, dab perfume on your neck, apply moisturiser, and inevitably touch them with oily fingers. The earlobe itself produces natural oils too. Diamond studs that aren't cleaned routinely can also harbour bacteria on the post and back — a particular issue for anyone whose ears occasionally feel irritated.
The good news: that buildup is purely surface-level. A proper at-home clean will restore your studs to their original brilliance, no expensive equipment required.
What You'll Need (You Probably Have It All)
One of the best things about cleaning diamond studs at home is how little it costs. Here's your complete supply list:
Step 1: Prep Your Workspace Safely
This step seems trivial but it's the difference between a successful clean and a horror story. Never clean diamond earrings directly over an open sink drain. One slip and a stud could disappear forever.
Instead, set up a safe cleaning station:
- Lay a soft, clean towel across a solid surface — a kitchen counter or dining table works perfectly.
- Keep your workspace away from drains, vents, and floor cracks.
- If you must work in the sink, put the plug in before you do anything else.
- Have a small mesh colander on hand — it's the safest rinse option if you have one.
Step 2: Inspect Your Settings First
Before any cleaning, take 30 seconds to inspect each stud carefully. Look closely at the prongs or bezel holding the diamond in place. You're checking for:
- Loose or bent prongs that could let the diamond fall out
- Worn-down prongs that no longer fully cover the diamond's edges
- Chips, cracks, or visible damage to the diamond itself
- Cracks or warping in the metal of the setting
If anything looks off, stop and take the earrings to a jeweller before cleaning. A loose stone agitated by even gentle scrubbing can pop right out and disappear down a vent.
Step 3: The Soap-and-Water Cleaning Method
This is the jeweller-recommended method that works for the vast majority of diamond stud earrings, regardless of metal type. Follow it slowly and carefully:
- Mix your cleaning solution.Fill the bowl with warm water (definitely not hot or boiling) and add a few drops of mild dish soap. You're not making a bubble bath — just enough soap to cut grease.
- Soak your studs.Drop both earrings carefully into the bowl. Let them soak for30–45 minutes. Earrings need a longer soak than rings or necklaces because they accumulate more cosmetic buildup.
- Gently scrub the diamond.After soaking, use your soft-bristle toothbrush to gently brush the diamond's face. You don't need to scrub hard — the top of the diamond cleans easily because soaking has already softened the grime.
- Get into the basket.Pay special attention to the underside of the setting — the basket where the diamond meets the post. This is where the most buildup hides because it touches your lobe daily.
- Clean the prongs.Brush around each prong carefully, working from multiple angles. Use a cotton swab for the tightest spaces.
- Don't forget the post.The post and back get just as grimy as the diamond. Give them a thorough scrub too.
- Rinse gently.With the plug in your sink (or using a second bowl of clean water), rinse the earrings under slowly running warm water to wash away soap residue.
- Dry thoroughly.Pat each stud dry with a separate lint-free or microfibre cloth. Moisture left on the post can irritate your ears, and damp diamonds will spot.
If you can still see grime after the first wash, the rule is simple: lather, rinse, repeat. A second cleaning round won't hurt anything.
Don't Forget the Earring Backs & Posts
The earring backs are the secret grime collectors most people forget about entirely. They sit against your skin all day, collect sebum, sweat, and beauty products, and rarely see a clean. The post itself can also get unpleasant just from normal wear — anyone who's had pierced ears for years knows that funky smell that can develop.
Soak the backs in the same warm soapy water for 5–10 minutes, scrub gently with the toothbrush, rinse, and dry. The improvement in both hygiene and comfort is immediate. For anyone who occasionally gets ear irritation, regular cleaning of the backs and posts often eliminates the problem entirely.
Cleaning by Setting Type: Pavé, Halo & Bezel
Not all diamond studs clean the same way. The setting style matters more than most people realise:
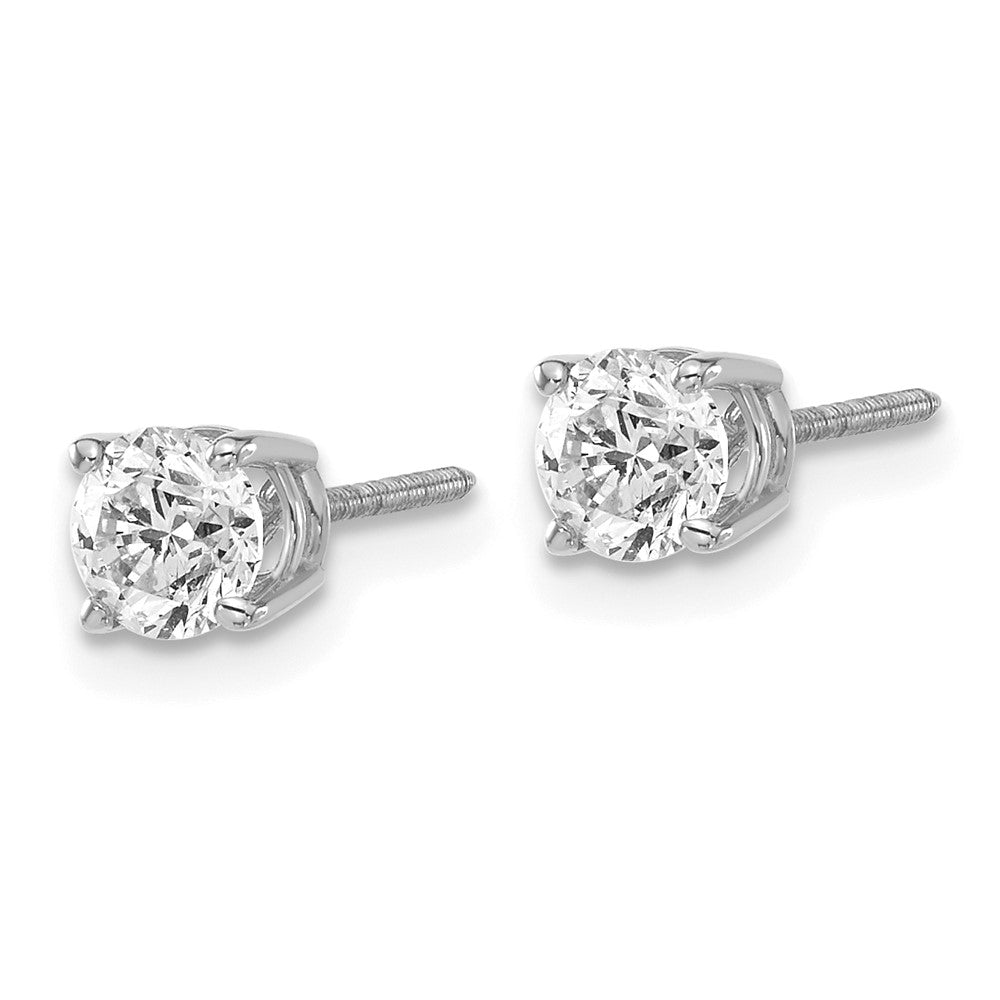
Solitaire Prong-Set Studs
These are the most forgiving. The classic four- or six-prong setting holds a single diamond, and the open basket makes cleaning easy. Follow the standard method above with confidence.
Bezel-Set Studs
The diamond is surrounded by a continuous metal rim rather than prongs. These are the most durable and can handle a slightly longer soak and slightly firmer scrubbing. The downside: dirt can get trapped under the bezel rim where the toothbrush can't reach, so an extra rinse helps.
Halo Studs
A central diamond surrounded by smaller pavé stones. Treat these with care — the small accent stones are held by tiny prongs that can loosen with aggressive cleaning. Soak longer, scrub gently.
Pavé Studs
These pack maximum sparkle into a small space using dozens of tiny diamonds in micro-prongs. They look incredible but require the gentlest hand. Soak longer (up to 45 minutes), brush very gently, and avoid any kind of mechanical cleaning device. A few of those micro-prongs are nearly always slightly loose, and aggressive cleaning can dislodge a stone.
7 Things You Should NEVER Do
⚠ Avoid These at All Costs
- Never use baking soda. While baking soda works for some metals, it's abrasive enough to damage diamonds and the metals they're set in. Skip it entirely for diamond jewellery.
- Never use bleach, chlorine, or harsh chemicals. These can permanently damage gold, white gold's rhodium plating, and silver. They also weaken prongs over time.
- Never use toothpaste. Despite the internet myth, toothpaste is abrasive and can scratch metal settings and dull the polish of the diamond.
- Never clean with hot or boiling water. Thermal shock can crack diamonds (especially those with internal inclusions) and damage settings.
- Never use a stiff-bristled brush. Soft only — anything firmer will scratch the metal and stress the prongs.
- Never clean over an open sink drain. One slip and your studs are gone forever.
- Never wear diamonds while using household cleaners, bleach, or hot tubs. Chlorine and bleach corrode the alloy metals in gold and dull diamonds gradually.
Should You Use an Ultrasonic or Steam Cleaner?
Home ultrasonic and steam cleaners are tempting — they're convenient, affordable, and look professional. But for diamond stud earrings at home, most jewellers recommend against them. Here's why:
- High-frequency vibrations can shake loose prongs in pavé and halo settings, potentially causing you to lose a stone.
- High temperatures in steam cleaners can increase pressure on internal fractures in diamonds, making tiny inclusions grow — or in worst cases, causing a stone to crack completely.
- Repeated cycles wear down gold hinges, posts, and the prongs that hold your diamonds in place.
- You can't see damage progressing the way a professional can under magnification.
Professional jewellers do use these machines, but they always inspect each piece under magnification first to check that the settings can safely handle the process. Without that inspection step, you're essentially gambling with your diamonds. The home soap-and-water method is gentler, safer, and equally effective for routine cleaning.
How Often Should You Clean Diamond Studs?
The right frequency depends on how often you wear them:
- Daily-wear studs: Wipe with a soft cloth or jewellery wipe at the end of each day. Do a full soap-and-water clean once a week.
- Frequent-wear studs (a few times per week): Wipe after each wear, full clean every 2-3 weeks.
- Special-occasion studs: Always clean them before AND after each wear. Fresh from cleaning before the event, then again to remove that night's products before storage.
- Professional deep clean: Once or twice a year, take them to a jeweller for a professional clean and prong inspection.
How to Keep Them Sparkling Longer
The best diamond cleaning routine is the one you barely have to do. These habits will dramatically extend the time between deep cleans:
- Put earrings on last. Apply makeup, hair products, perfume, and moisturiser first. Earrings go on after you're fully ready.
- Take them off first. When removing makeup or showering, take earrings off before, not after.
- Resist touching them. The natural oils on your fingertips are one of the main causes of dulling. As tempting as it is, don't fidget with your studs.
- Skip them for swimming and hot tubs. Chlorine and salt water both damage metal settings over time and dull diamond polish.
- Remove them for cleaning chores. Bleach, dish soap with degreasers, and abrasive scourers all damage settings.
- Store properly. Keep studs in a soft jewellery pouch or fabric-lined box, away from air exposure and humidity. Avoid tossing them on the dresser overnight.
- Wipe after every wear. A quick 10-second wipe with a soft cloth before storage removes the day's grime before it can build up.
- Use a specialist jewellery wipe occasionally. These are designed specifically for fine jewellery and offer quick maintenance between deep cleans.
Pros & Cons of Cleaning at Home
Pros
- Free or near-free — uses items you already own
- Quick and easy — 30 minutes total
- Maintains daily brilliance between professional cleans
- Removes bacteria from posts and backs
- No appointment needed
- Safe when done correctly
- Effective for solitaire and bezel settings
- Empowering — you learn your jewellery better
Cons
- Risk of damage if done incorrectly
- Risk of loss if working near an open drain
- Less effective on deeply set grime
- Not ideal for delicate pavé settings
- Won't catch loose prongs the way a jeweller will
- Easy to over-clean and weaken settings
- Doesn't restore rhodium plating on worn white gold
- Skin contact with chemicals if you skip gloves
When to Take Them to a Professional
At-home cleaning handles routine maintenance brilliantly. But certain situations call for professional help:
- Annual deep clean. Even with regular home cleaning, an annual professional clean ensures hidden grime is fully removed and prongs are inspected under magnification.
- You notice loose stones when handling them. Don't try to clean — stop and book a jeweller appointment.
- Bent or damaged prongs. Only a jeweller can safely reshape or replace prongs.
- White gold studs that look yellow. The rhodium plating on white gold wears off over years and needs professional re-plating.
- Heavily tarnished silver settings. While silver tarnish responds to home cleaning, severe cases need professional treatment.
- Sterilisation after sensitivity. If your ears have been irritated, a professional clean ensures full bacterial removal.
- Before a major event. Wedding, big anniversary, milestone birthday — a professional clean guarantees peak sparkle. Many jewellers do this free of charge for customers.
Quick Summary Table
An at-a-glance reference for everything you need to know. Scroll horizontally on mobile to see the full table.
| Topic | Recommendation | Why |
|---|---|---|
| Best Method | Warm water + mild dish soap, 30-45 min soak | Gentle, effective, safe for all metals |
| Brush | Soft-bristle toothbrush or baby brush | Won't scratch metal or stress prongs |
| Soak Time | 30 min (necklaces), 45 min (earrings) | Earrings collect more cosmetic buildup |
| Water Temp | Warm — never hot or boiling | Heat can crack diamonds with inclusions |
| Workspace | Bowl on towel, away from drains | Prevents losing earrings |
| Frequency (daily wear) | Once a week + daily wipe | Stops buildup before it dulls sparkle |
| Frequency (occasional) | Before AND after each wear | Catches event-day products immediately |
| Professional Clean | 1-2 times per year | Includes prong inspection |
| Avoid | Baking soda, bleach, toothpaste, hot water | Damages diamonds and settings |
| Ultrasonic/Steam | Only on solid solitaires; avoid for pavé | Vibration loosens micro-prongs |
| Pavé Settings | Soak longer, scrub gentler | Tiny prongs are easily dislodged |
| Storage | Soft pouch or lined box, away from air | Prevents tarnish and scratching |
Frequently Asked Questions
Can I use rubbing alcohol or hydrogen peroxide on diamond studs?
Hydrogen peroxide is acceptable for sterilising the posts and backs, but it's not necessary for cleaning the diamonds themselves. Rubbing alcohol can dry out the alloy metals in gold over time. Mild dish soap and warm water is the safer, more effective option for routine cleaning.
Why does Ernest Jones say not to use baking soda but Daniel Wellington recommends it for earrings?
Baking soda is fine for tarnished silver or general fashion earrings, but it's mildly abrasive — enough to potentially dull diamond polish and scratch certain metal settings over time. For diamond studs specifically, jewellers recommend skipping baking soda entirely. Stick with the gentler soap-and-water method.
Will cleaning my diamond studs damage them?
Not if done correctly. Mild soap and warm water won't harm diamonds, gold, platinum, or sterling silver. Damage usually comes from one of two things: aggressive scrubbing on delicate pavé settings, or skipping the prong inspection before cleaning and dislodging an already-loose stone.
How can I tell if my white gold studs need re-plating?
White gold is typically plated with rhodium for that bright white finish. Over years of wear, the plating thins and the underlying gold begins to show through with a slightly yellow tint. Cleaning won't fix this — you'll need a professional re-plating, usually inexpensive and quick.
Are home ultrasonic cleaners safe for diamond stud earrings?
For solid solitaire or bezel-set studs in good condition, occasional use is generally fine. For pavé, halo, or any setting with small accent stones, avoid them — the vibrations can loosen micro-prongs and lead to lost stones. When in doubt, stick with soap and water.
What about cleaning lab-grown diamond studs?
Lab-grown diamonds clean identically to natural diamonds. The cleaning method is the same: warm water, mild soap, soft brush, gentle rinse. Both types of diamonds are equally hard and respond to the same care.
Should I clean both studs at the same time?
Yes — and you should also clean both backs at the same time. This ensures consistent appearance and prevents one stud from looking newer than the other. Just be careful when working with multiple small pieces in one bowl.
My diamond studs smell. What do I do?
That smell typically comes from bacteria and oil buildup on the post and back. A full soap-and-water clean usually eliminates it. If the smell persists after thorough cleaning, give the backs an extra soak in a fresh solution of warm water with a few drops of soap, scrub thoroughly, rinse, and dry. If it still persists, your ears may have a minor infection and you should see a doctor.
Can I wear my diamond studs in the shower?
Technically you can, but it's not recommended. Shampoos, conditioners, and body wash all leave a film of residue on diamonds and settings — exactly the buildup you're trying to prevent. Take them off before showering for longer-lasting brilliance.
How do I store diamond stud earrings to keep them clean?
Store them in a soft jewellery pouch or a fabric-lined jewellery box, away from air and humidity. Each pair should ideally have its own compartment to prevent scratching. Avoid leaving them on dressers or in bathrooms where moisture and dust accumulate.
Are jewellery cleaning wipes a good idea?
Yes, for quick maintenance between deep cleans. Specialist jewellery wipes are designed specifically for fine jewellery and remove surface oils quickly. They're a great option for daily touch-ups or travel. They don't replace the occasional deep soap-and-water clean, but they extend the time between deep cleans considerably.
Brilliant Diamonds Are Just 30 Minutes Away.
Set aside half an hour this weekend, follow the steps above, and watch your diamond studs come back to life. Cleaner, brighter, and ready for whatever the week throws at them.


 Contact Us